Partner guide to creating a Developer Application
Partners can follow this guide to create their Developer Application
This guide is designed for Partners who want to build products and tools that integrate with the Oyster platform. This guide will help you create a Developer App on the Oyster API.
Create a Developer App
Oyster grants access to API resources based on OAuth2. To access the API, you must first create a Developer App.
You must have an account on Oyster to create a Developer App. You can create a Developer App in a Developer Sandbox for development purposes, and will need to then do the same in a production account before offering the integration to customers. You can find more information about requesting and using a Developer Sandbox in this guide. To create an Oyster production account, please sign up here and notify [email protected].
Follow these steps:
-
Log in to your account.
-
Choose to create a new Developer Application in the Developer Tab.
-
You will then be prompted to fill in the information about your developer application.

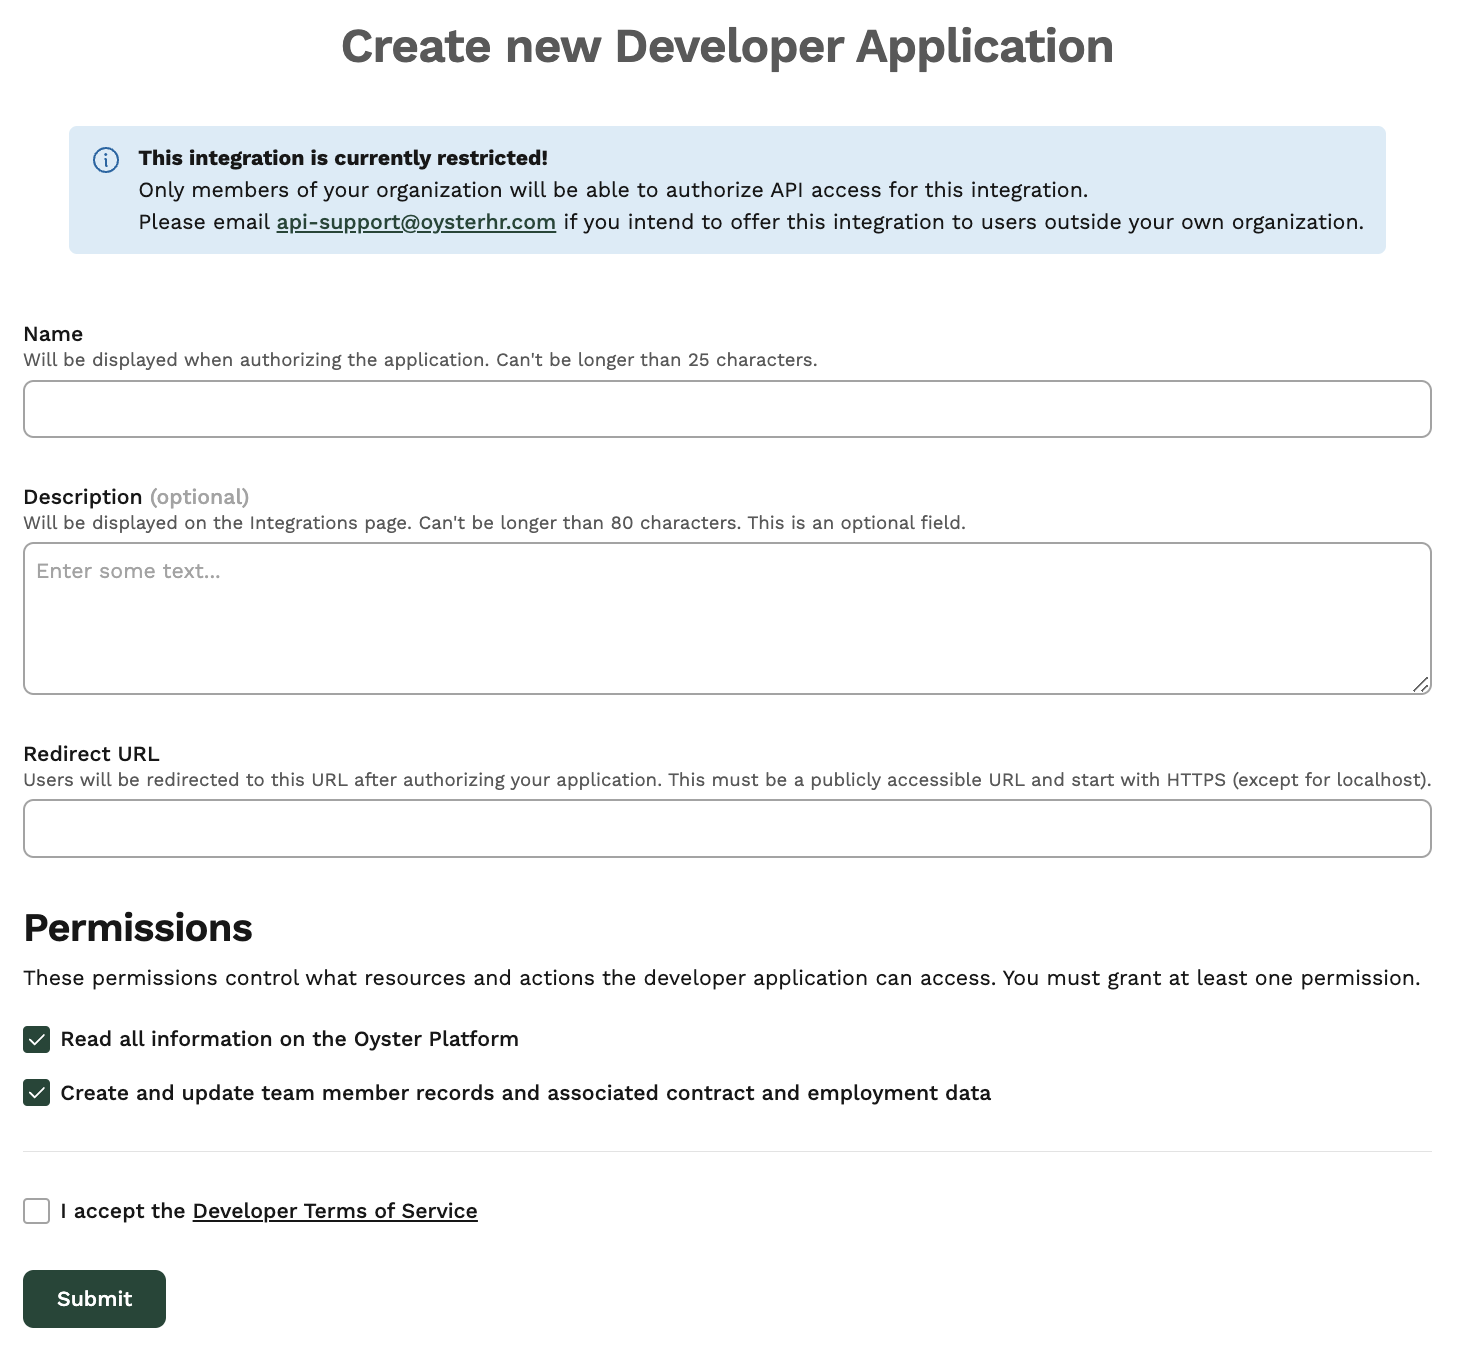
- Name is the application name that customers will see when authorizing the application.
- Description will be shown to customers if you choose to list the application in the Oyster integration page.
- Redirect URL is the endpoint in your domain where users will be redirected after they have authorized this developer app on their account. This must be a publicly-accessible URL and start with
https. - Choose the appropriate scopes for your application. Don’t include unnecessary scopes as this might discourage customers from authorizing your application.
-
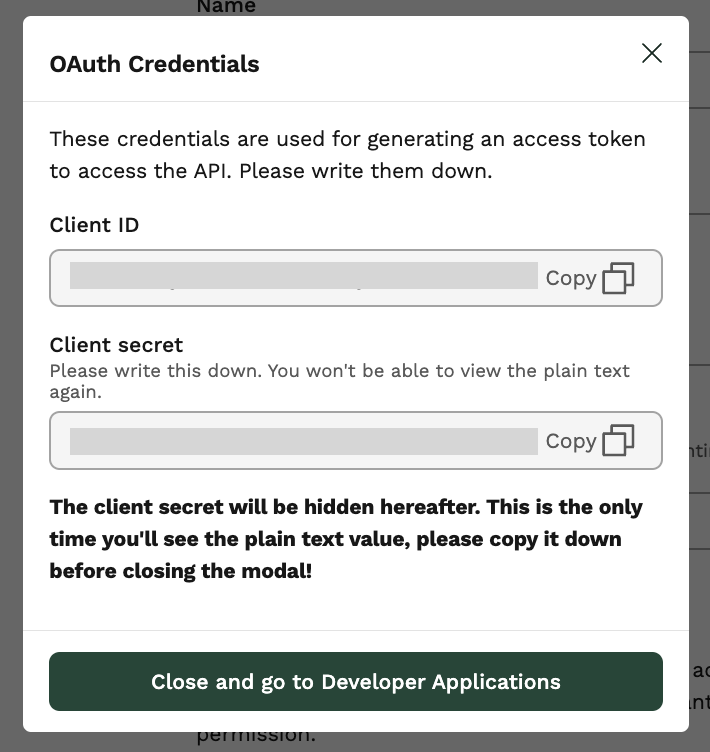
Once submitted, you will see a popup with the Client ID and Client secret.
- The Client ID will still be available in the Developer applications list after you submit the page.
- Make sure to copy the Client secret before submitting the page as this will not be visible in plain text again! If you misplace the Client secret, you will be able to regenerate a new one in the Developer applications list.
Next steps
We support two authorization flows: authorization code and client credentials. If you will offer your integration to customers, they must authorize your integration so please use the authorization code flow to be able to receive customers’ authorization. In other cases you can choose the authorization flow based on your needs.
Updated 3 months ago